June Relief Society Activity: Flower Market, Bloom Where You’re Planted
With summer approaching, and all the beautiful flowers out in nature and on full displays at stores, I was able to convince my mom to try out an idea I’d seen repeatedly on TikTok–flower arranging–as a Relief Society (church ladies 18+ organization) activity! Mom was kind enough to indulge my “as seen on TikTok” idea, and cleverly integrated a “Bloom Where You’re Planted” focus too. Our event ended up not only being a fun time learning about and arranging flowers, but also included some great discussion amongst participants about what “Bloom Where You’re Planted” means to them. At the end of the night, participants got to take home their floral arrangements–not only a pretty and great smelling souvenir, but also a nice reminder about making the best of our circumstances; to truly bloom wherever we may currently be planted.
Event Flyer
First we got the news out with some Canva created flyers (printed and physically passed out to the ladies in the ward, and the digital image was also added to the ward program, Relief Society Newsletter, email reminders, and more).

If you’d like to create your own copy of the invite above, below is a template link–you will need to sign into Canva (creating an account is free, or if you’re an educator you can even get a premium account for free), then you’ll be able to make your own copy of the template provided to edit for your event.
Materials Needed
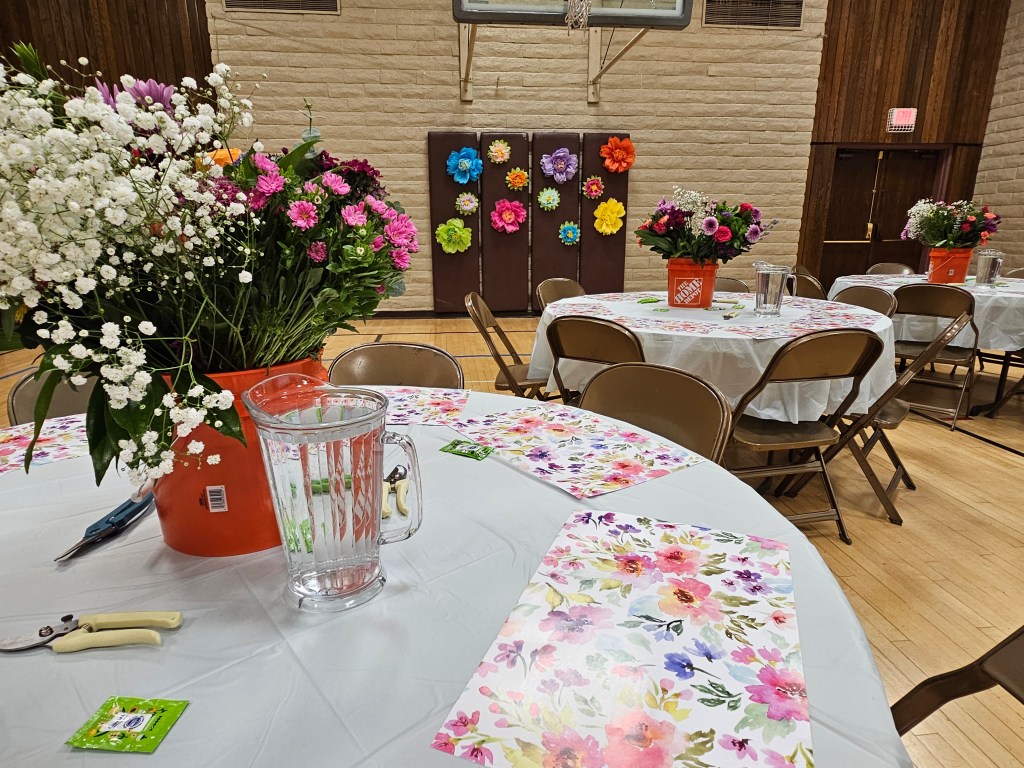
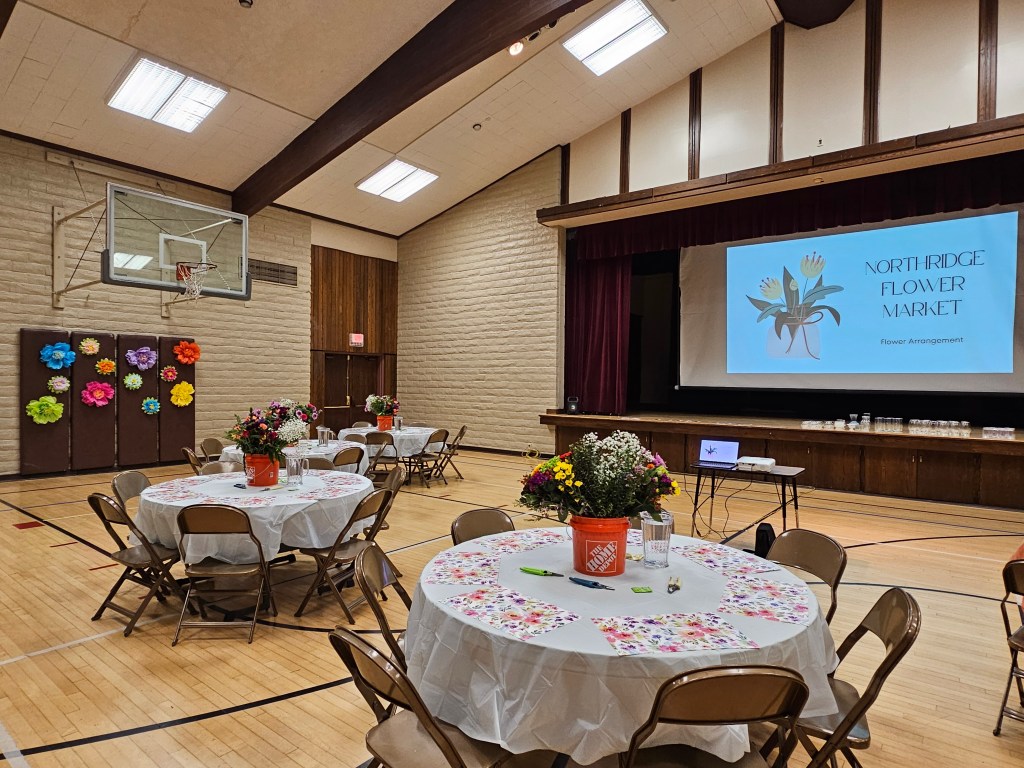
In preparation for the Flower Market event, planning on between 30-50 ladies attending and participating from our ward, we secured and prepared the following:
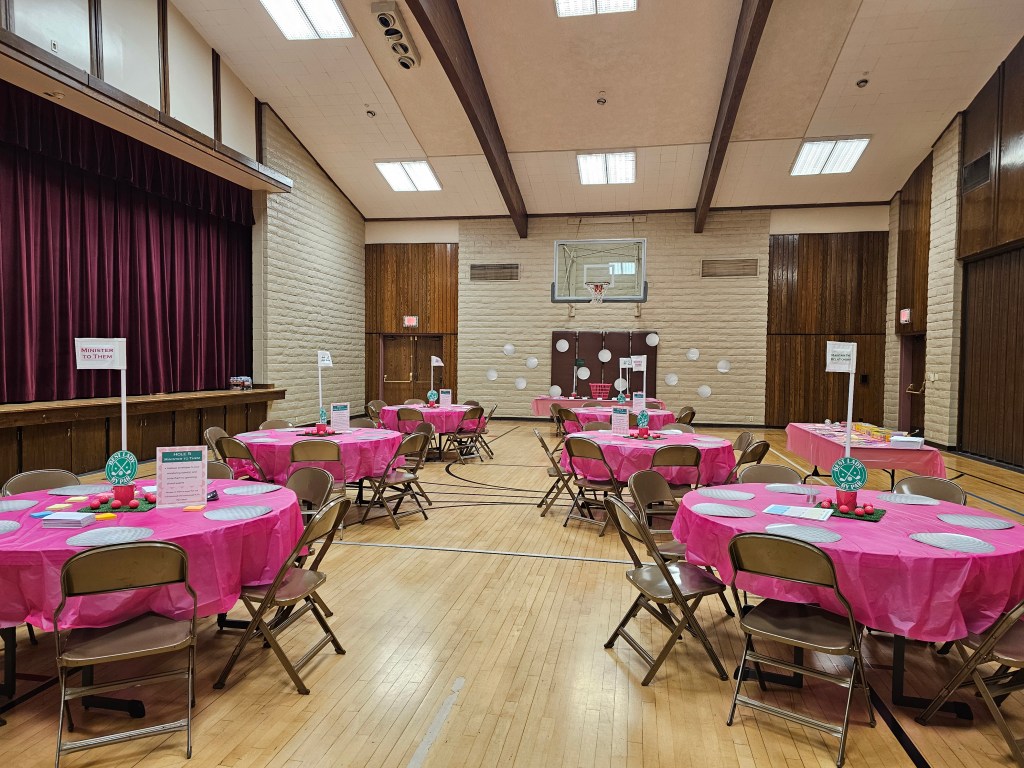
- Space for the activity (reserved ward cultural hall)
- 6 round tables & 7 chairs per table (having only 7 at a table allowed for elbow room while guests painted, but also the flexibility to add more chairs if needed)
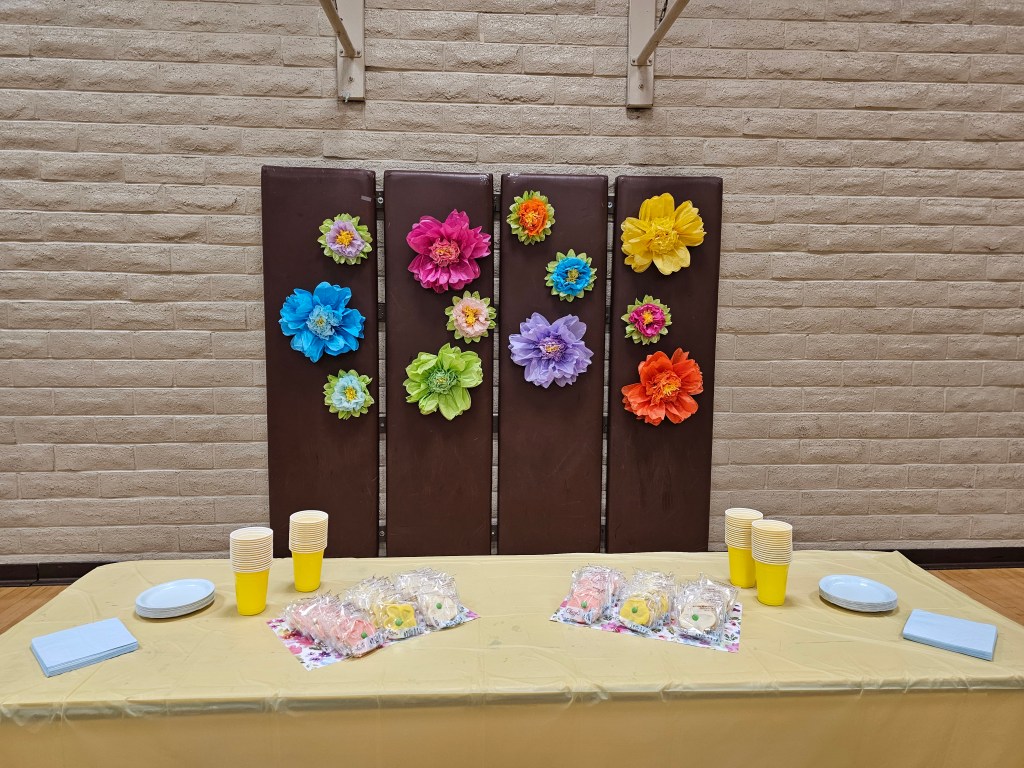
- 1 long table (for refreshments)
- 1 small table (to place projector on)
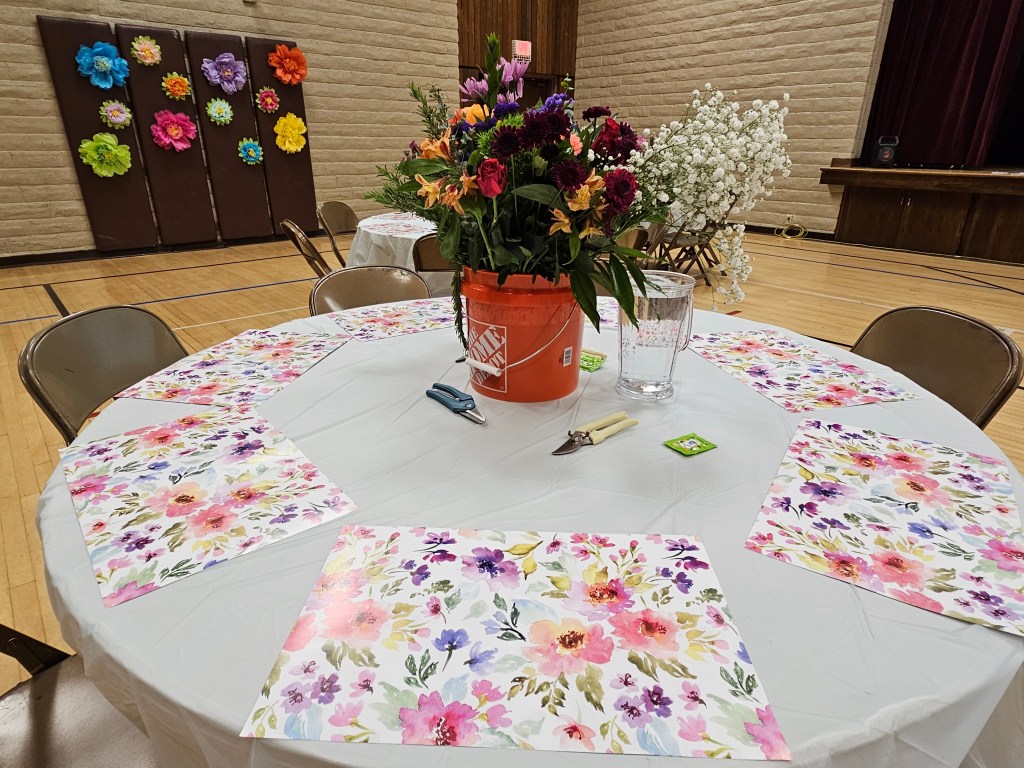
- Dollar Tree tablecloths (not only should EVERY table ALWAYS have some type of tablecloth for classiness, but it also helped for easy clean up with all the cut greenery–we did light blue and yellow tablecloths for spring/summer colors)
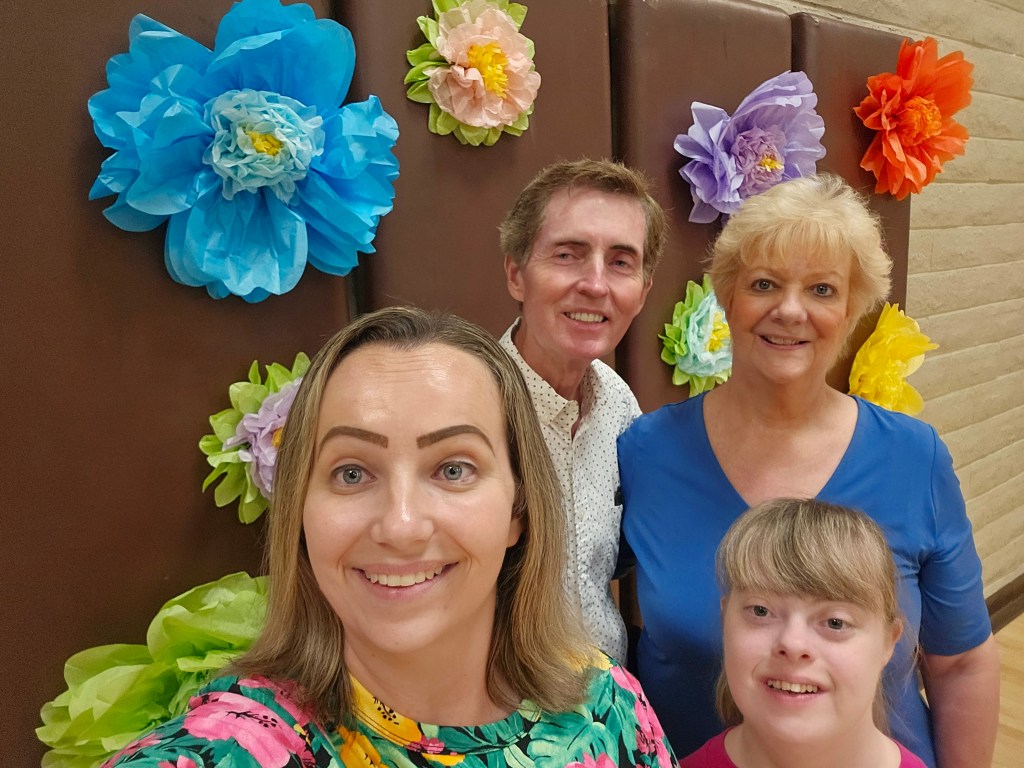
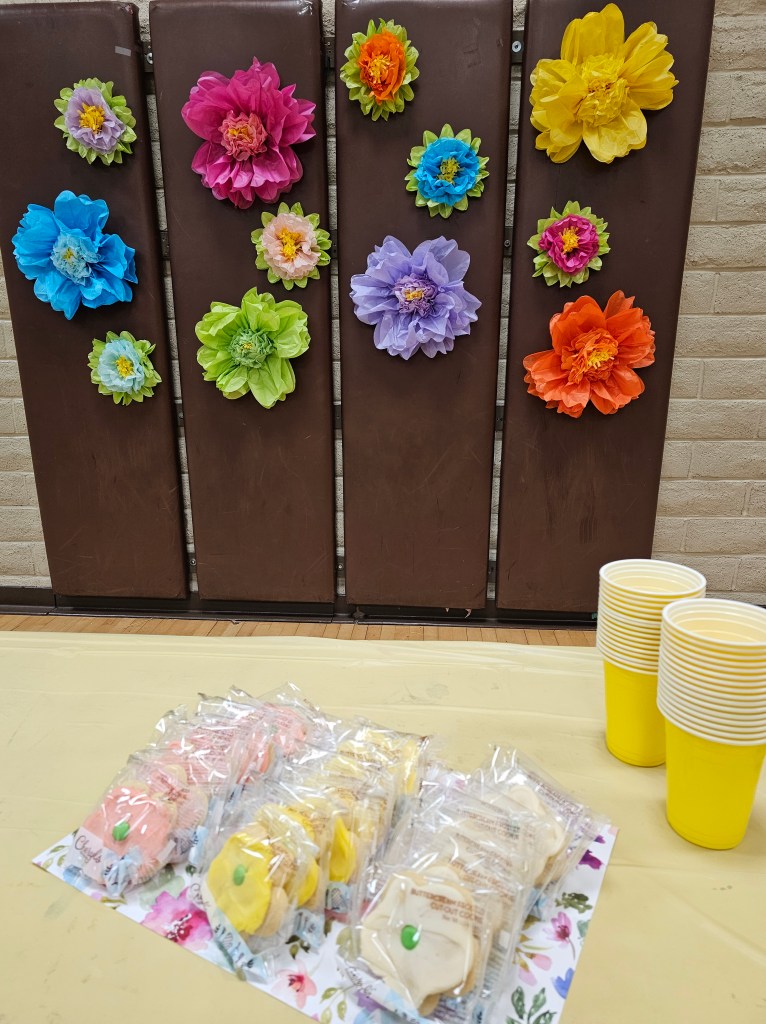
- Tissue paper flowers (super easy to assemble from Amazon, then we used Alien Tape to stick to the walls, which made for fun, easy, colorful decorations)
- Projector with power source and extension cords if needed (to project and display simple steps and tips I’d put together about flower arranging)
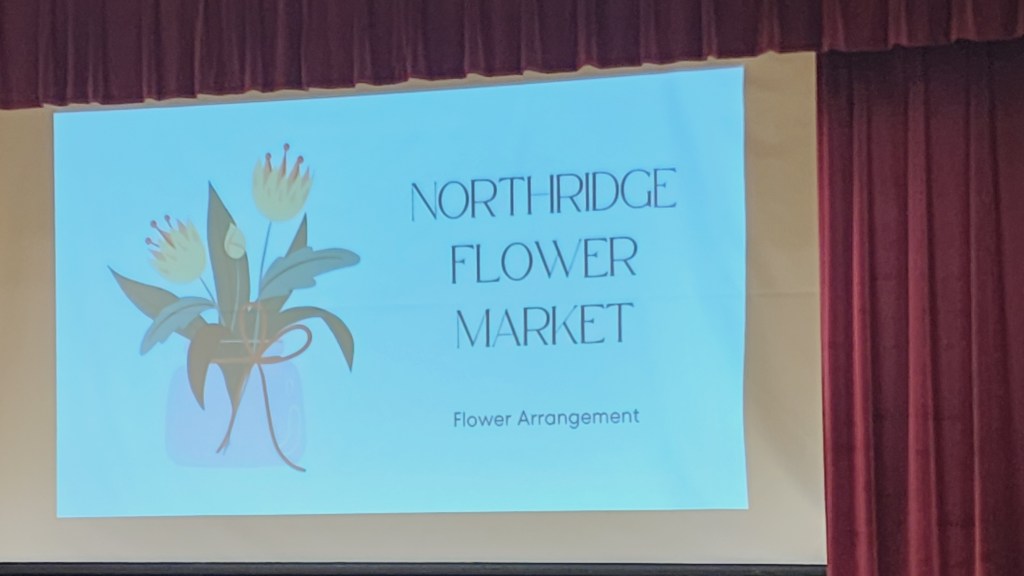
- Flower Market presentation (a lot of participants just dove right into the flower arranging activity, but for those interested in learning a little bit more about the “science”/suggested how-tos of flower arranging, it was helpful to have a presentation to follow…see presentation pictures below after this list)
- Flower placemats (optional, but did help distinguish each participants’ space, added colorful decor to the space, and helped with easy clean up at the end of the event)
- 2 gallon Home Depot bucket (these are the smaller, more adorable versions of the iconic Home Depot buckets, we had one per table to hold flowers and water)
- Pitchers (one per table, for participants to fill their vases with water either before or after arranging their flowers)
- Water (make sure to have access to water to easily fill up each table’s pitcher, and Home Depot flower holding bucket)
- Flower shears (we had about 4 per table, so participants could trim their stems and leaves as need)
- Flowers…LOTS of flowers! (from our personal research in our area, to be cost effective while still providing a good variety of flowers and stems for participants, we got 6 large bouquets from Costco, 6 large bouquets from Trader Joe’s, 4 Baby’s Breath bouquets from Trader Joe’s, and 6 greenery bouquets from Trader Joe’s…so each of our 6 tables ended up with 1 Costco bouquet, 1 Trader Joe’s bouquet, and some greenery and Baby’s Breath spread out amongst the tables…we had just enough flowers with only a few stems leftover, but could have used some more Baby’s Breath)
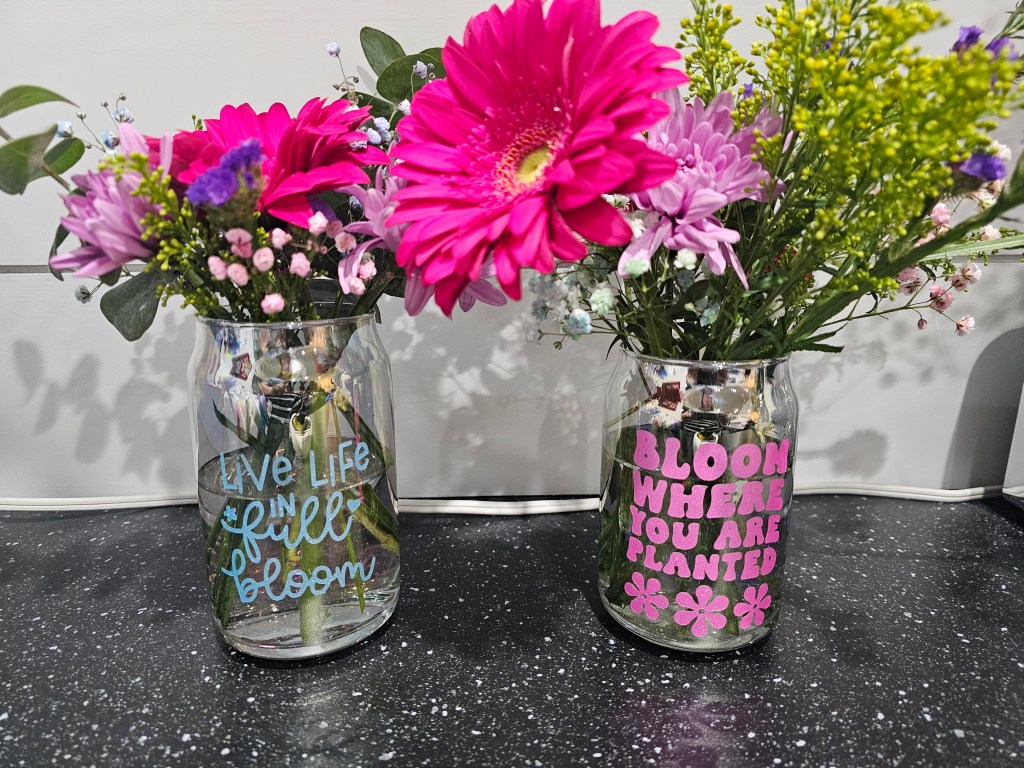
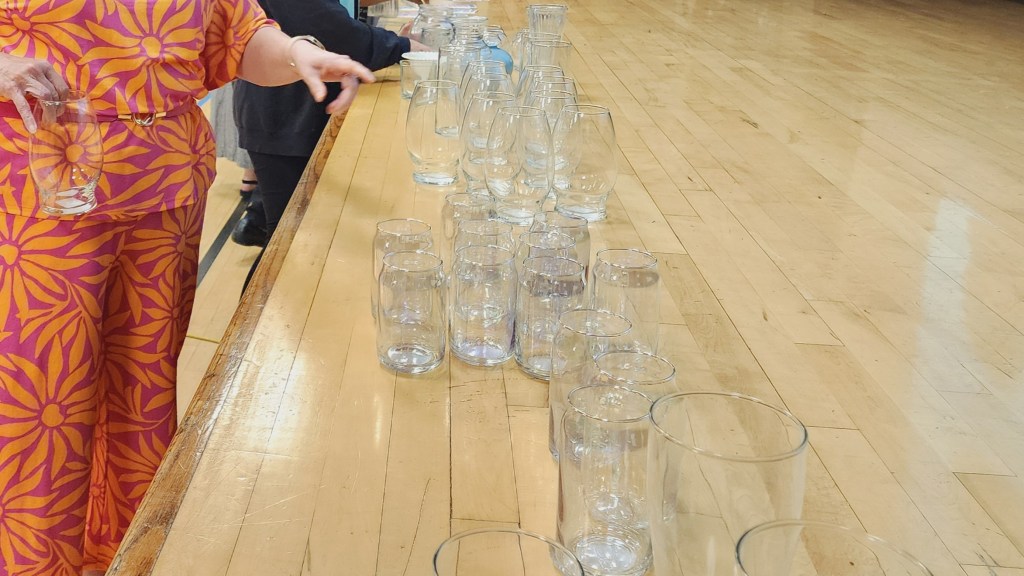
- Vases…LOTS of vases! (we provided a variety of vases we had bought from Dollar Tree, plus vases people had brought/donated/wanted out of their garage, so their was certainly a fun mixture of vases)
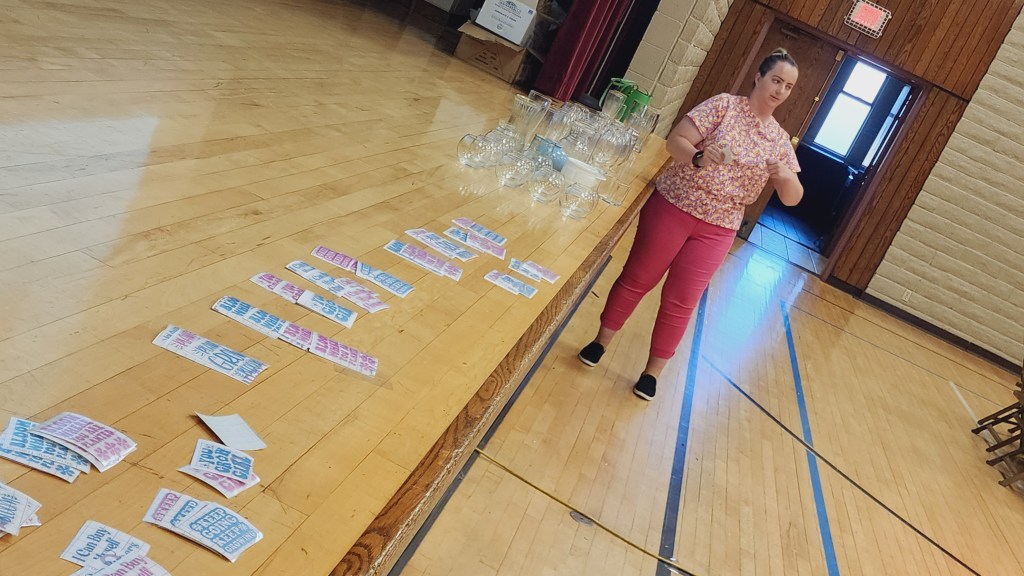
- Vase decals (optional, but something unique we did for our flower arranging activity, was I used my Cricut to cut out and prepare permanent vinyl decals in three various sizes, for our participants to apply to their vase if they wanted–just a fun, unique addition to their vases and our event! The embedded link should take you to the Cricut Design Space project to view–due to trademark and licensing, you’ll probably only be able to view the project, but you can find the same or similar designs if you also want to offer vinyl decals at your flower arranging event!)
- Cheryl’s Cookies Flower Cookies (for our refreshments, we did milk and cookies and these cookies were a big hit…we love that they are prepackaged and on theme!)
- Milk (to go with our cookies for refreshments)
- Small cups (for refreshments)
- Small plates (for refreshments)
- Napkins (for refreshments)


You may not need all the materials above for your event, but just sharing what we used!
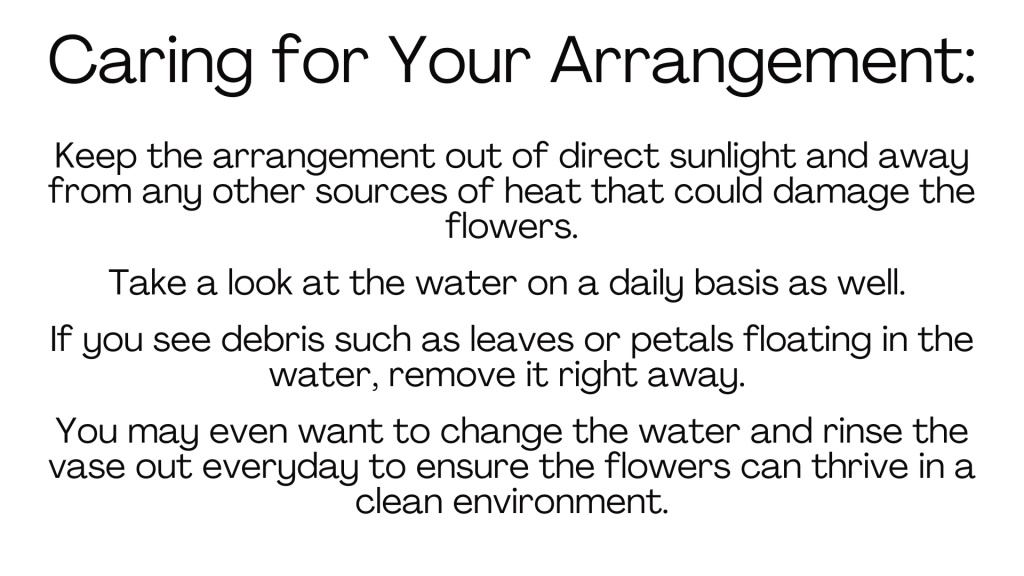
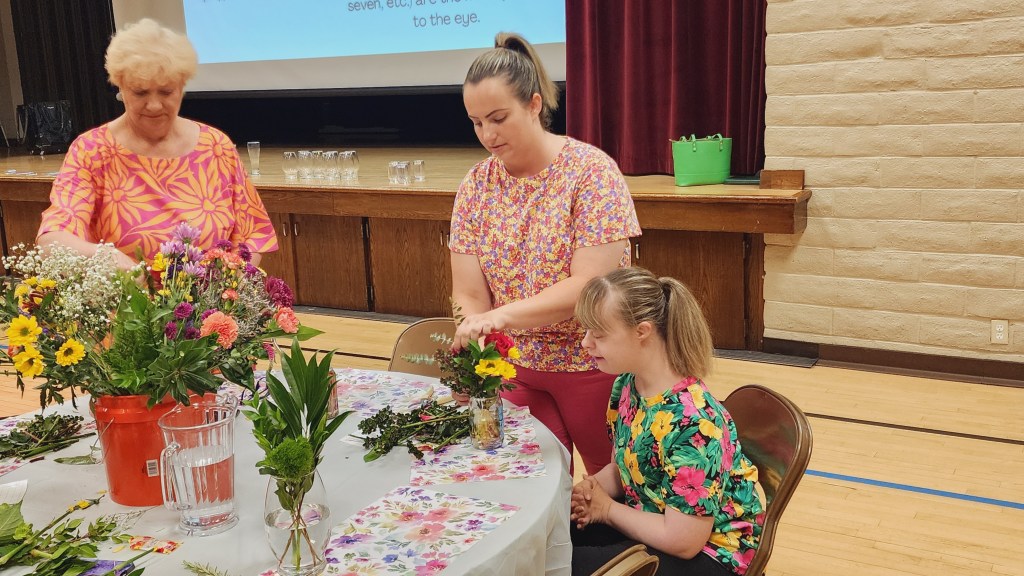
Time to Arrange!
After lots of Cricut-ing to prepare vinyl decals for vases, and lots of pre-event worrying about if we’d bought too little or too many flowers, it was at last time for our Northridge Flower Market! Mom started off the event with a short and sweet discussion by asking participants what it means to them to “bloom where you’re planted”. After hearing some inspiring instances, mom related blooming where you’re planted back to flowers, and how that’s why we’d be arranging flowers this event! Then, since this was my “as seen on TikTok” idea, I took the lead and started us off with following our Northridge Flower Market Presentation. For the rest of the event, we’d go to a slide, quickly review and discuss it, and participants would be invited to do that step. A lot of our participants just jumped right into the flower arranging and didn’t need the presentation, but I’m glad we still had it for those (like myself) who are new to flower arranging). You can find the presentation I put together and used above, plus I summarized the major steps below.
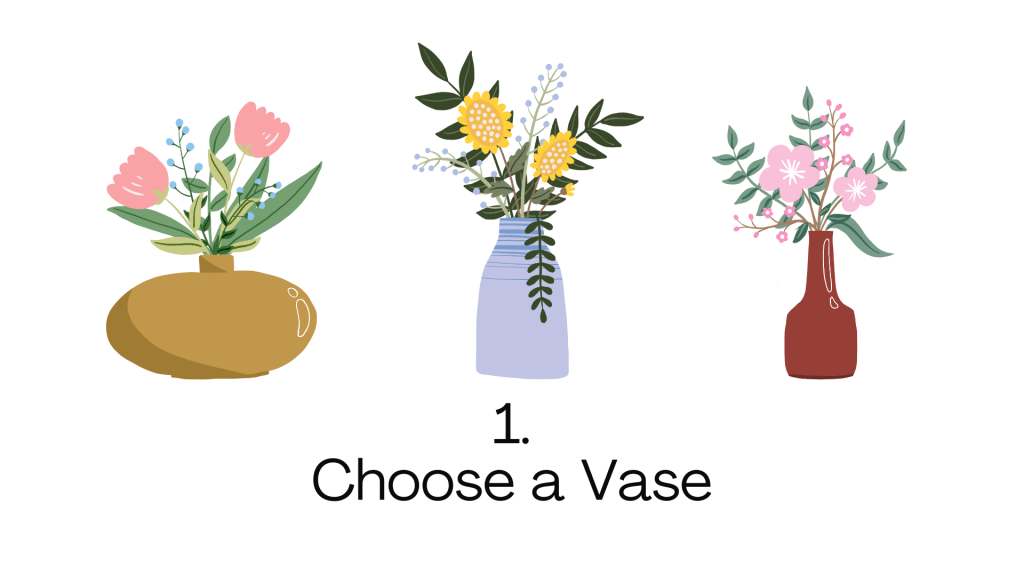
- Choose a Vase
- Participants were invited to choose a vase, and to add a vinyl decal to it if they wanted to personalize their vase.
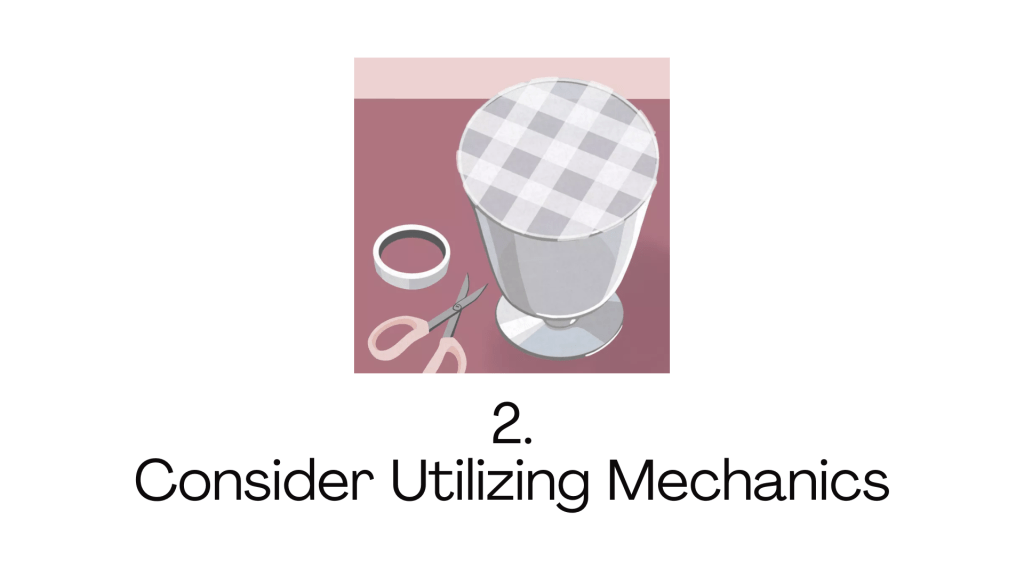
- Consider Utilizing Mechanics
- I explained how some florists will use floral tape or chicken wire when arranging to help hold their arrangements in place, we offered floral tape to anyone who wanted to try it (no participants used it, probably because we were working with smaller mouthed vases to begin with).
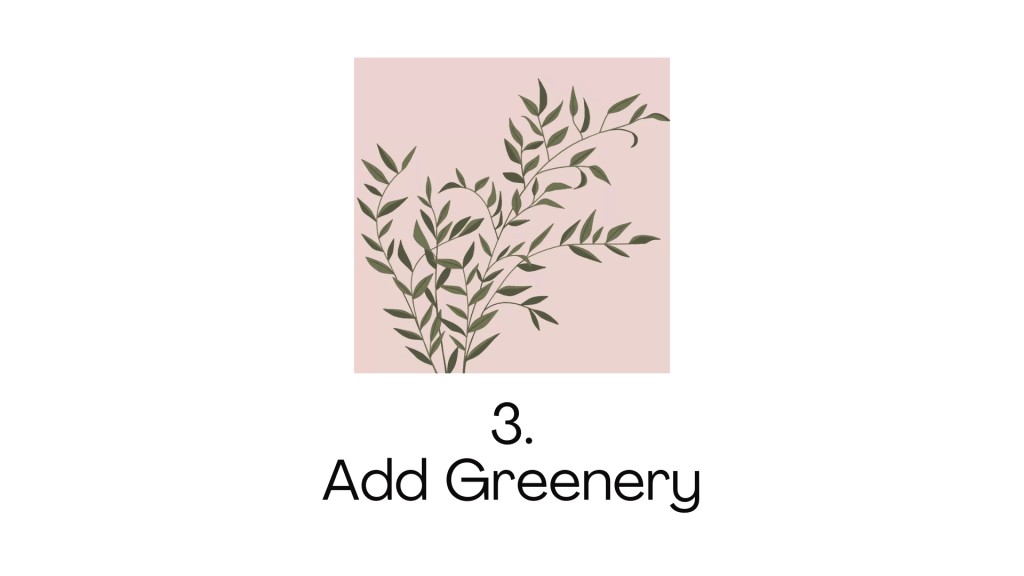
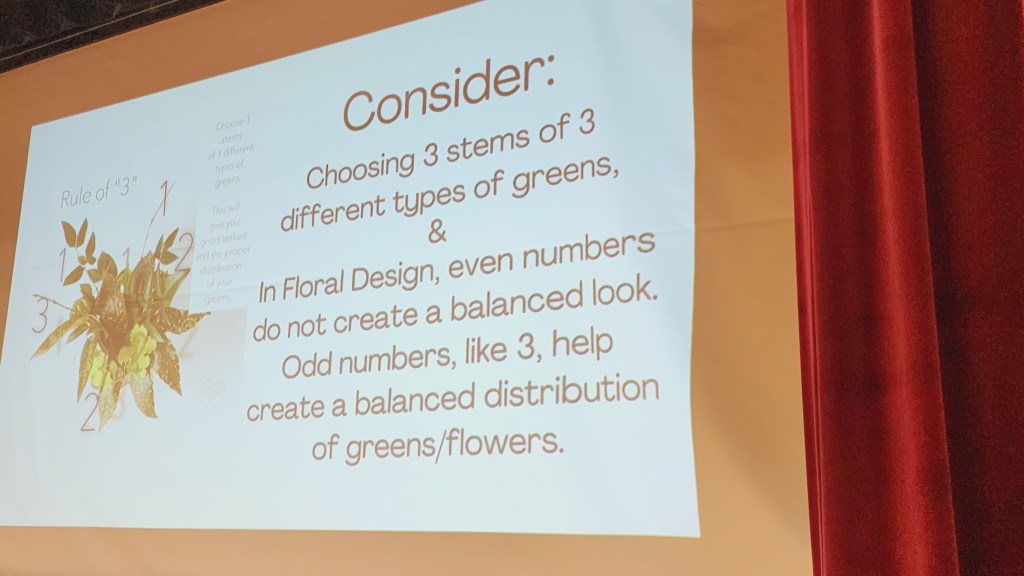
- Add Greenery
- It’s recommended the first thing you add to your flower arrangement are your greens, to create a nice foundation to build on–considering the florist tip of 3 stems each of 3 different types of greens.
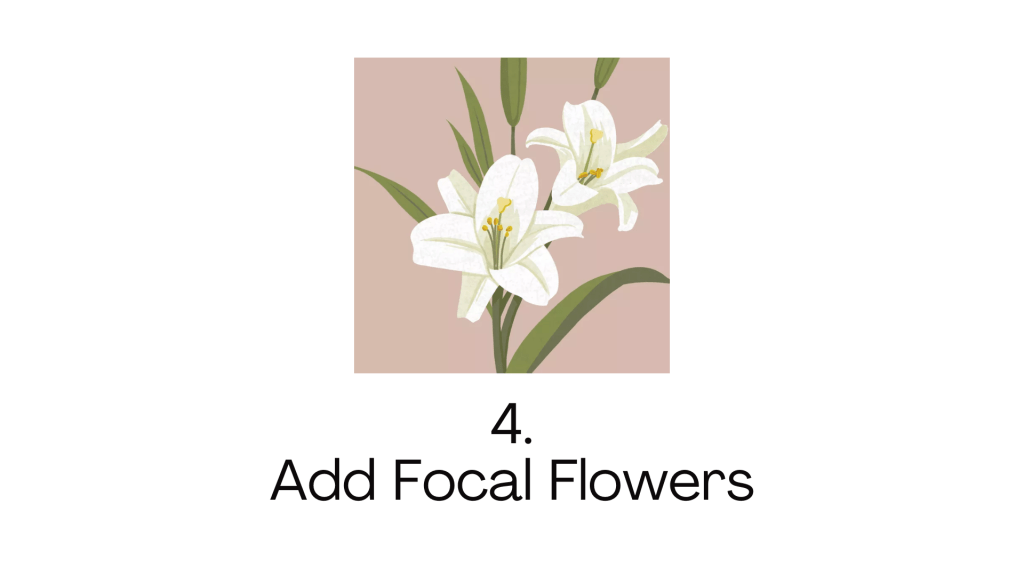
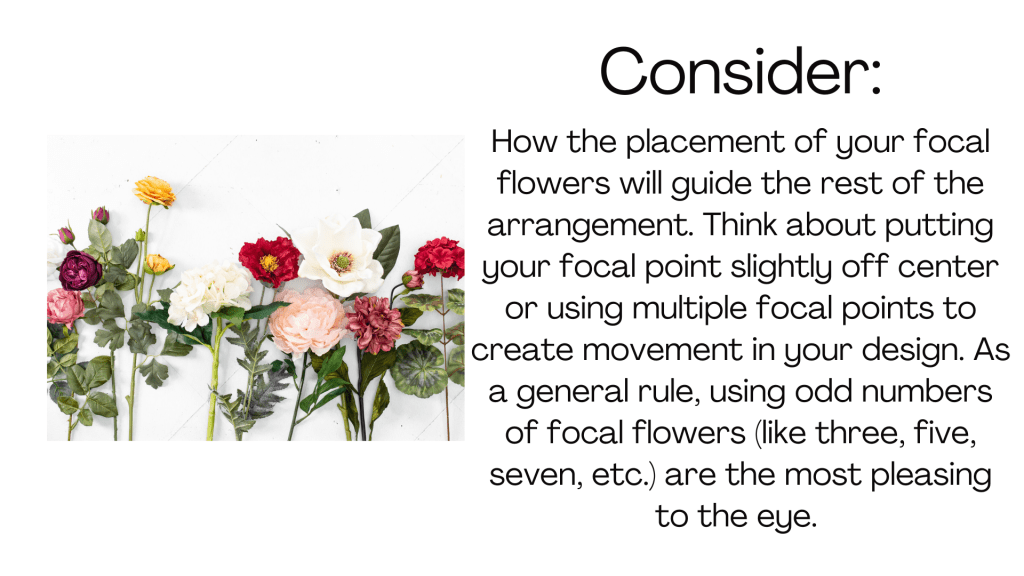
- Add Focal Flowers
- After creating a foundation of greens, you want to place the largest flowers–your focal flowers–of your arrangement. Some tips from florists include placing focal flowers just slightly off center, and to utilize odd numbers of focal flowers.
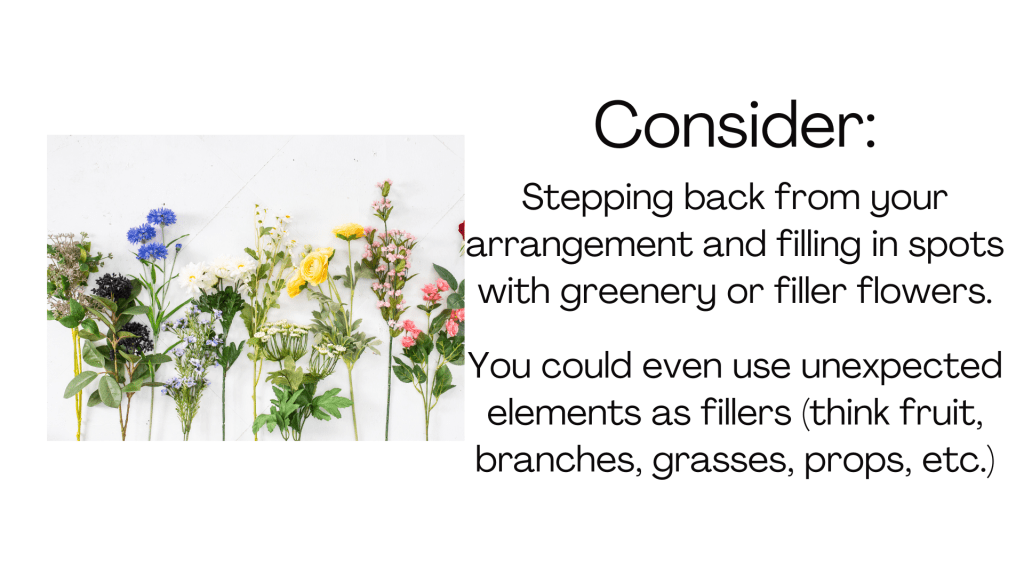
- Add Filler Flowers
- It’s recommended to step back from your arrangement, and depending on how “tight” or “loose” you wan your arrangement, to add your smaller filler flowers where you see “holes” or “spaces” in your arrangement.
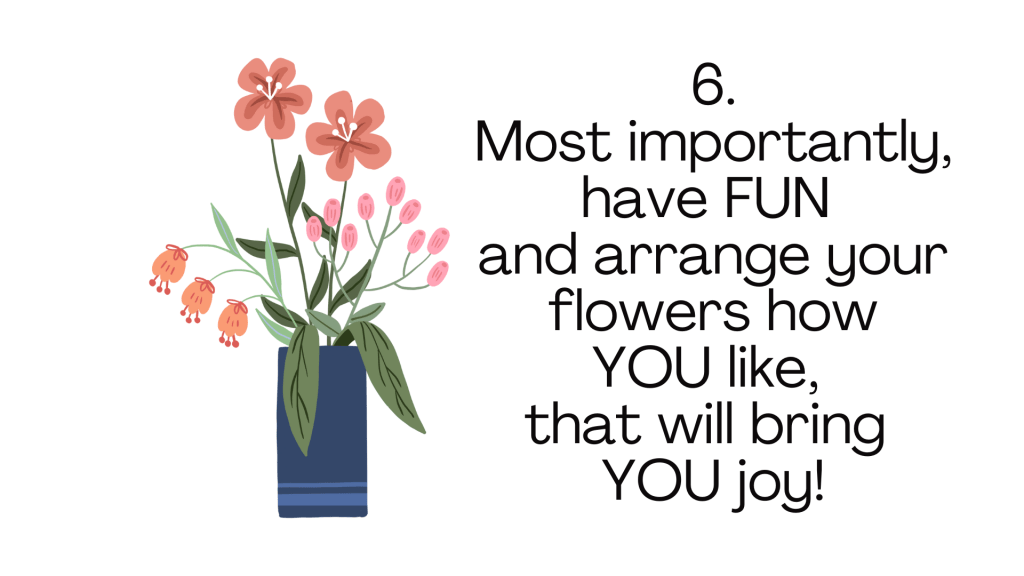
- Most importantly, have FUN and arrange your flowers how YOU like, that will bring YOU joy!
By the time we finished our presentation, participants had created some truly beautiful and unique flower arrangements! We ended the event with refreshments and making everyone get a group photo holding their arrangements (not pictured here to protect people’s identity, but if you do some type of flower arranging event, make sure to get a group photo–I promise you it will turn out adorable and gorgeous!). We might just have to arrange to have another flower arranging night!


Leave a comment